For this installation, I will be installing SCVMM 2016 on Windows Server 2016 (with UI) and on a virtualized machine within a Hyper-V (2016) environment. There is no fancy storage here, so I will omit that for this configuration/blog post.
Prerequisites, you will need some service accounts:
- SCVMM Service Account
- SCVMM Administrator Account
- SCVMM Administrator Group
- SQL Service Account
You can use PowerShell to quickly create the accounts, see here:
|
1
2
3
4
5
6
7
8
9
10
11
|
#create scvmm service accountsNew-ADUser -Name "SCVMM_SA" -GivenName SCVMM -Surname SA -SamAccountName scvmm_sa -UserPrincipalName scvmm_sa@ravilocal.com; -AccountPassword (ConvertTo-SecureString “Passw0rd” -AsPlainText -Force) -PassThru | Enable-ADAccountNew-ADUser -Name "SCVMM_ADMIN" -GivenName SCVMM -Surname ADMIN -SamAccountName scvmm_admin -UserPrincipalName scvmm_admin@ravilocal.com; -AccountPassword (ConvertTo-SecureString “Passw0rd” -AsPlainText -Force) -PassThru | Enable-ADAccount#create scvmm admins security group, add scvmm_sa and scvmm_admin to the groupNew-ADGroup SCVMM_ADMINS -GroupScope Global -GroupCategory SecurityAdd-ADGroupMember SCVMM_ADMINS -Members SCVMM_SAAdd-ADGroupMember SCVMM_ADMINS -Members SCVMM_ADMIN#create sql sa accountNew-ADUser -Name "SQL_SA" -GivenName SQL -Surname SA -SamAccountName sql_sa -UserPrincipalName sql_sa@ravilocal.com -AccountPassword (ConvertTo-SecureString “Passw0rd” -AsPlainText -Force) -PassThru | Enable-ADAccount |
Once you have done this, I then added the SCVMM accounts to the Local Administrators group on the server.
Next, you will need to prep you server with the Windows Automated Deployment Kit (ADK) and SQL Command Line Utilities.
Download the Windows ADK for Windows 10.
You will need to install the Deployment Tools and Windows Preinstallation Environment (Windows PE) features.

Then I downloaded the SQL Server Command Line Utilities 11 along with ODBC Driver 11 for SQL Server. Both of these downloads can be found below.
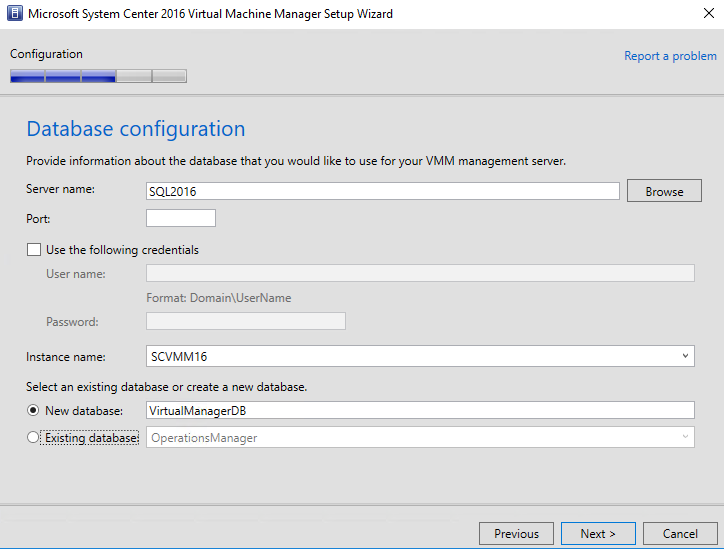
Once complete, I then installed a new SQL instance on my SQL 2016 SP1 machine, called it “SCVMM16“.
After that, then I was rebooted my SCVMM server, and I was ready to start the SCVMM 2016 install.
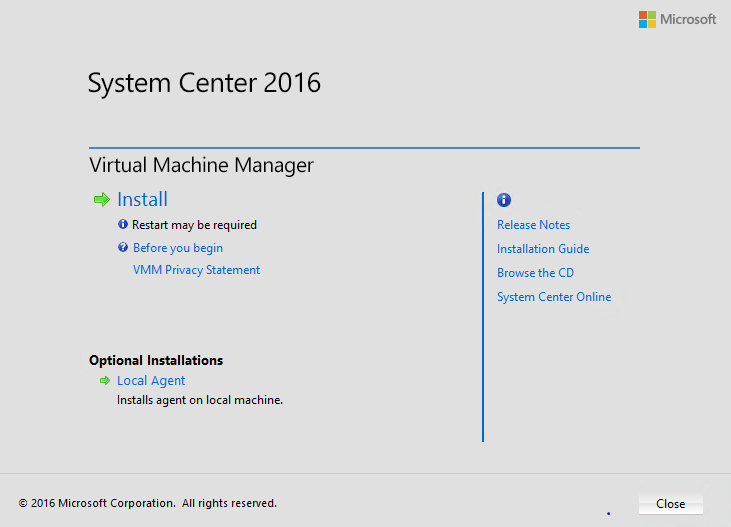
Executing the Setup.exe as the Local Administrator…
Connect to a SQL instance. If you need to know the SCVMM SQL requirements, go HERE.
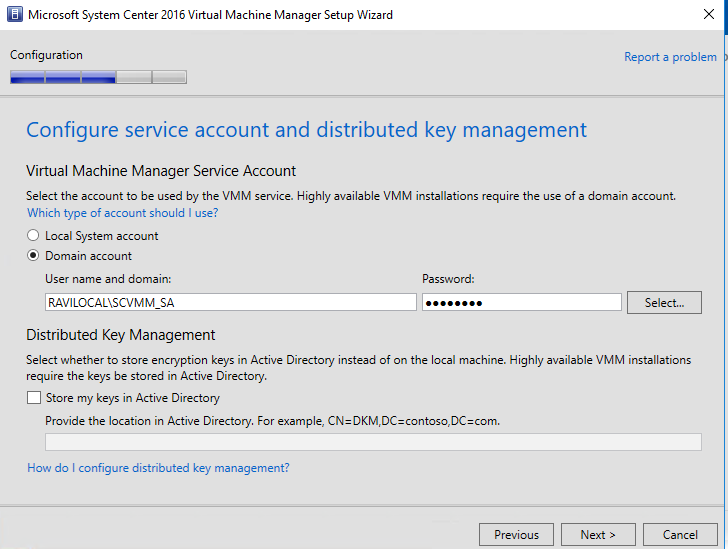
Since this is a PoC, and not being prepped for a Production environment, I can go ahead and skip the Distributed Key Management, although this is required and recommended if you’re deploying in a HA/Production environment.
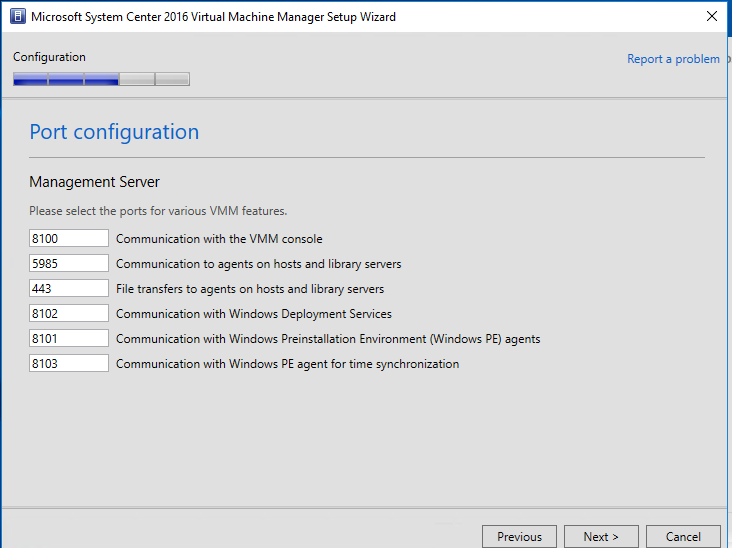
Double check the default ports are open for the install, or update the ports as needed to correspond to your environment.
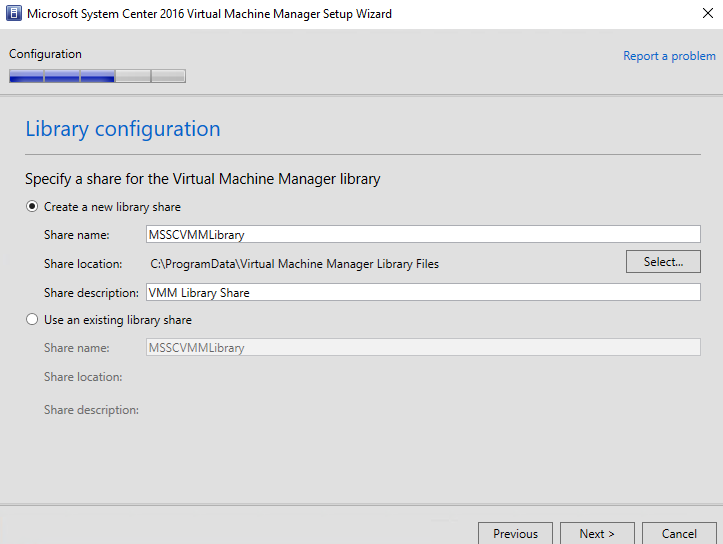
Since this a fresh install, and I did not setup an external SAN storage, I will keep this as default, and configure later.
Double check and confirm the summary details before proceeding — no going back after this….
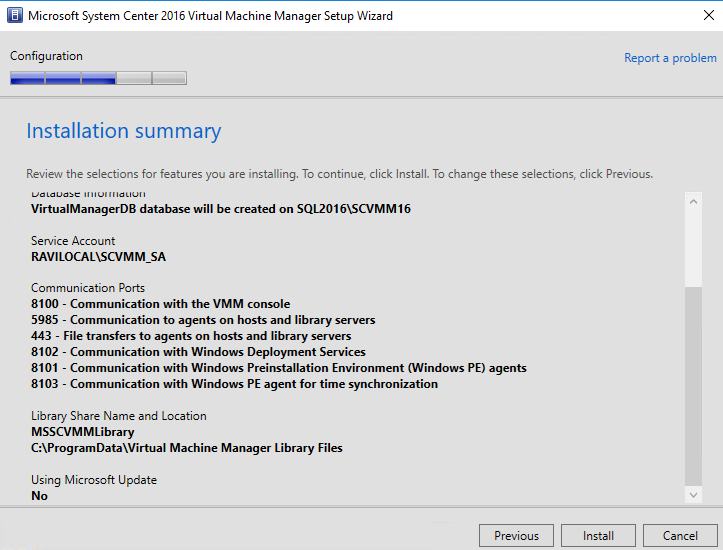
Once you’re ready, go ahead and hit Install. For me, the install took about 15 minutes.. Good time for a walk and fresh air. 🙂
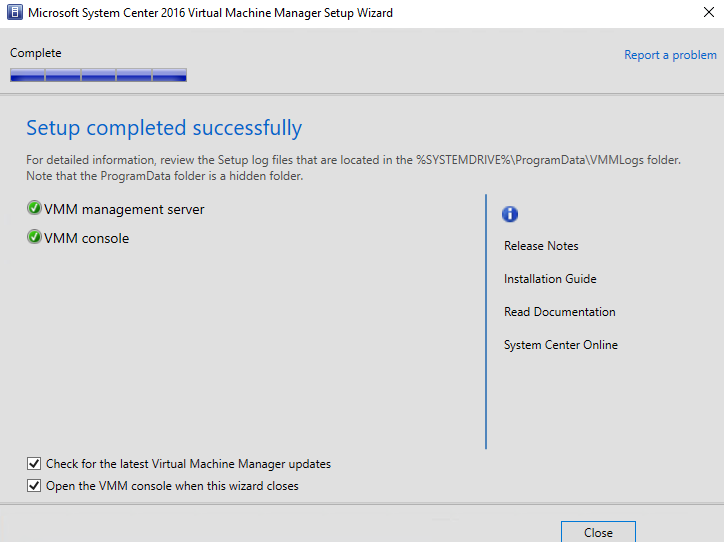
Sweet!! Now we are ready to roll.
Next steps (I will do that next and blog soon…)
- Configure SCVMM 2016
- Deploy the SCVMM agent to our Hyper-V host(s)
- Configure the Library Share/PXE
- Configure the Fabric/Network/etc.,
- Install Update Rollup 2 (UR2)


